Click to open the sale page Items.

When we sign-up and first use Office 365, Exchange Online, and other MS Office 365 products we get in, start working and are usually unaware that there is a limited amount of storage. That’s because these services are cloud-based and Microsoft limits the maximum amount of storage based on the type of license you have.
You can refer to the below image to know the storage limit based on the mailbox type and license.
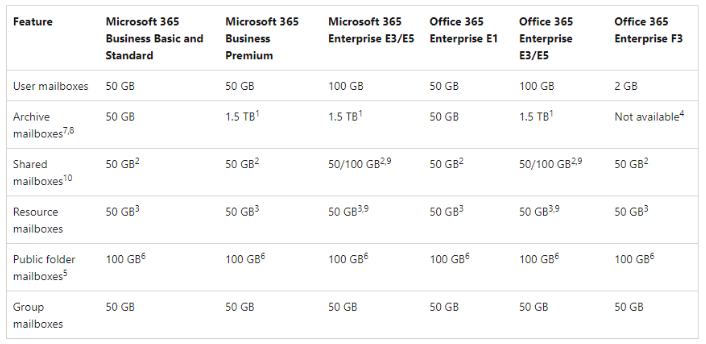
Shared mailboxes do not require licenses until their mailbox size exceeds 50 GB. To increase the mailbox size from 50 GB to 100 GB, you must assign an Exchange Online Plan 2 license.
Besides upgrading your MS Office 365 plan (which can get costly), you can use the guides below based on the ways you use Outlook for your email.
With Outlook desktop open, select the file menu:

Next, locate this area on the ‘File’ page:
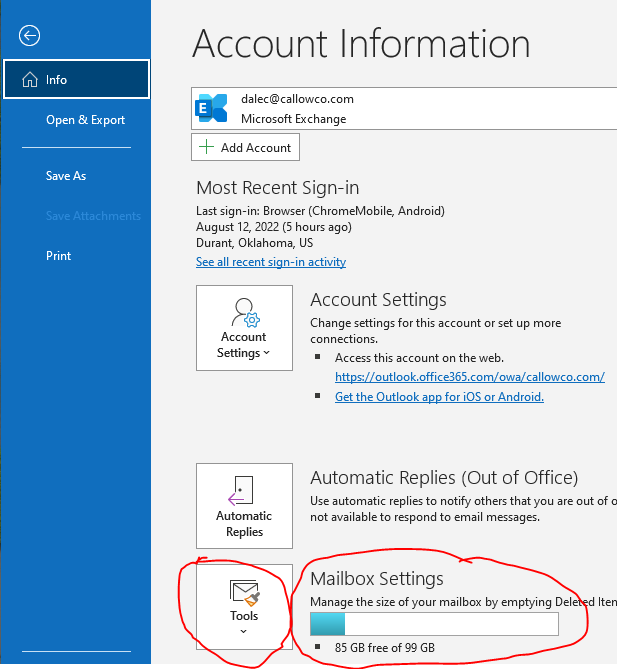
This will show you how much free space you have, using the “Tools” button will give you options on freeing up space.
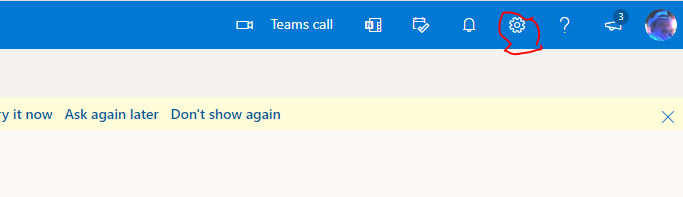
After you’ve logged in to your Exchange Online account and have it open, select the gear icon in the upper right corner:
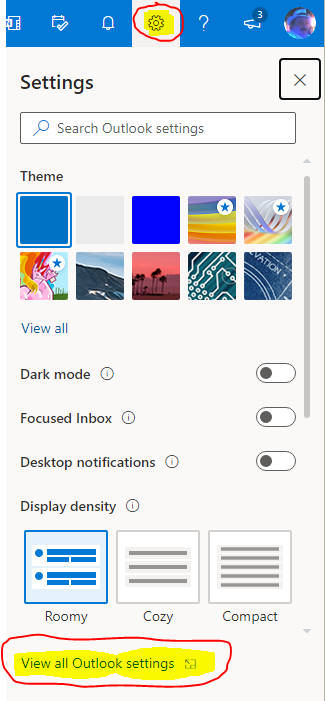
After you have selected the “Gear” icon a fly-out menu will be displayed, select “View All Outlook Settings”:
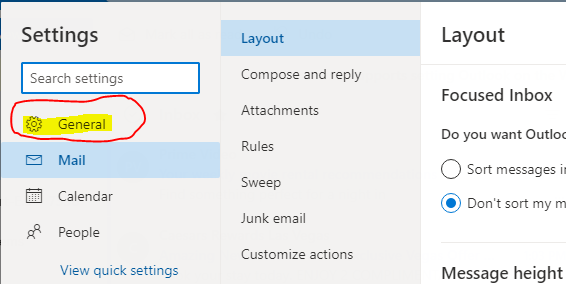
That will open the complete page of settings, select the “General” link:
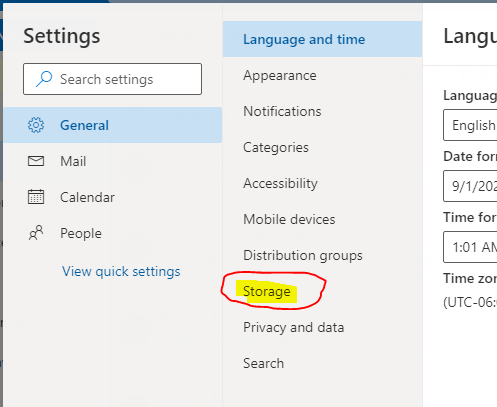
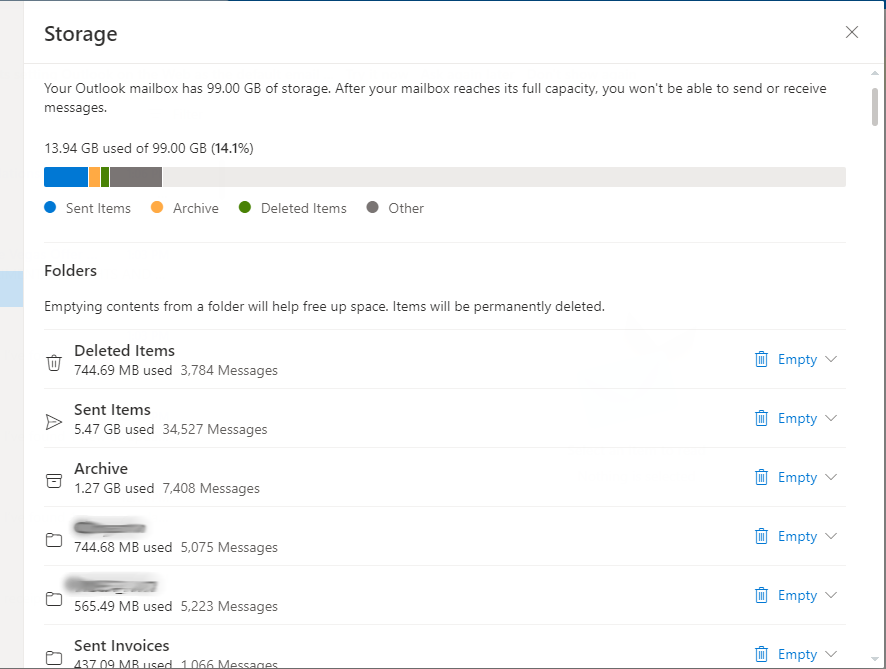
When the General settings are shown, select “Storage”:
On the “Storage” page you will see your storage usage and have selections to free up available storage:
Quota and checking free storage space is not a daily task, but knowing about it and knowing ways to manage it will prevent you from receiving errors and being unable to send and receive until you clear some space.
If you need help with your IT needs or have a question drop me a line, or hire me. Call 972.571.4808 I’m happy to help.

One topic that seems to get overlooked is MS Outlook’s “Safe Senders” list. Recently I was asked about whitelisting a perspective email address that was expected to be going to send important emails. I suggested using Outlook “Safe Senders”
When you receive an email from someone and you right-click on the header you will get a list of selections…
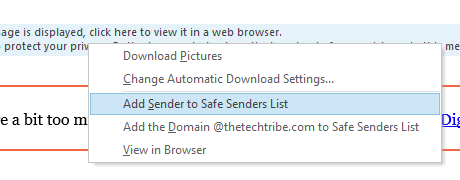
When you select “Add Sender to Safe Senders List” the email address from the sender is placed in a special address list. All emails received are compared to that list and if found they will automatically go to your inbox. Think of it as your personal “Whitelist”.
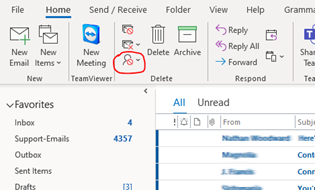
If you happen to mistakenly add someone to the list or wanted to check or update “your safe sender” list click on your junk settings. I’m using Office 365 desktop, other desktop versions of outlook are similar. Click on the “Junk Settings” button.
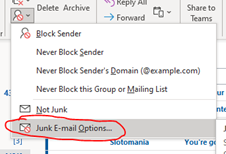
Here are the selections after you select the toolbar “Junk” button. Select “Junk E-mail Options…”
A dialog box will pop up, select “Safe Senders” on the tab bar.
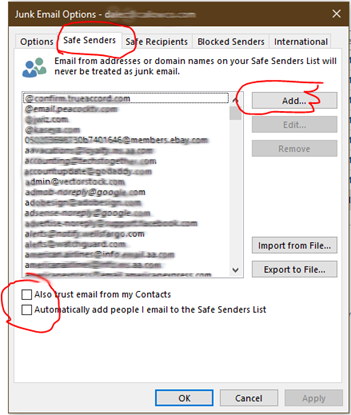
From this dialog box, you can “Add”, “Edit” and “Remove” the addresses in your “Safe Sender” list. A few other selections are “Also trust email from my Contacts” and “Automatically add people I email to the Safe Senders List. You can also Import or Export to a file.
Our email has certainly proved to be the basic communication standard in modern times and features like “Safe Sender” in Outlook is an unsung hero in managing our email senders. If you would like to hire me for a project, or need IT support I have plans and features available for any size business. Happy computing!